DIY Sauna Guide: How to Build a Sauna at Home
•Posted on July 15 2023
If you're looking for a way to relax and unwind after a long day, or simply want to add a touch of luxury to your home, building a sauna might just be the perfect solution for you. Not only does a sauna provide numerous health benefits, but it can also be a great addition to your home's value. In this DIY sauna guide, we'll take you through the steps of building a sauna at home.
Step 1: Choose the Location
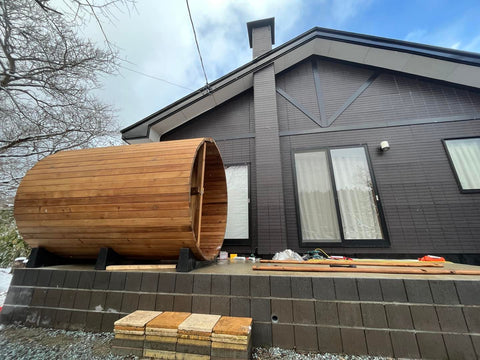
The first step in building a sauna is choosing the location. Ideally, you'll want to build your sauna in a dry, well-ventilated area. You'll also want to ensure that the location has access to electricity, as most saunas require an electric heater.
Step 2: Choose the Size
Once you've chosen the location, it's time to decide on the size of your sauna. Saunas can range in size from small one-person units to large multi-person saunas. Consider how many people will be using the sauna at once, as well as the available space in your home.
Step 3: Choose the Type of Sauna
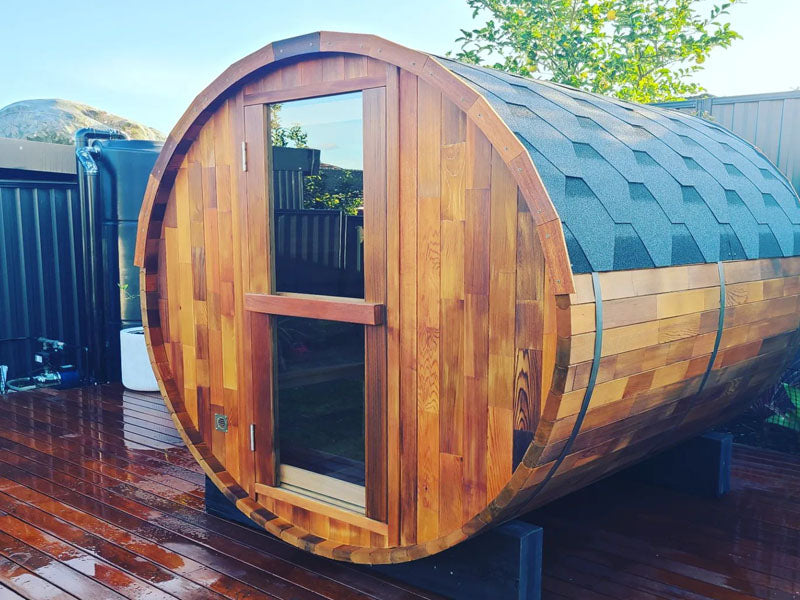
There are several types of saunas to choose from, including traditional Finnish saunas, infrared saunas, and steam saunas. Traditional Finnish saunas use a wood-burning or electric stove to heat the room, while infrared saunas use infrared heaters to heat the body directly. Steam saunas use a steam generator to create a moist heat.
Step 4: Choose the Materials
The materials you choose for your sauna will depend on the type of sauna you've chosen. For traditional Finnish saunas, cedar is a popular choice due to its natural resistance to moisture and decay. For infrared and steam saunas, materials such as ceramic tile or glass may be more appropriate.
Step 5: Build the Frame
With your location, size, type, and materials chosen, it's time to start building your sauna. Begin by building the frame using. Make sure the frame is level and square before moving on to the next step.
Step 6: Install the Insulation
Once the frame is complete, it's time to install the insulation. Fiberglass insulation is a popular choice for saunas, as it's easy to install and provides excellent thermal insulation.
Step 7: Install the Vapor Barrier
After the insulation is installed, it's time to install the vapor barrier. The vapor barrier prevents moisture from entering the sauna and causing damage to the insulation and other materials.
Step 8: Install the Interior Finish
With the vapor barrier in place, it's time to install the interior finish. This can be done using cedar paneling or other materials such as ceramic tile or glass.
Step 9: Install the Heater
Once the interior finish is complete, it's time to install the heater. Follow the manufacturer's instructions carefully to ensure proper installation and operation.
Step 10: Install the Benches
With the heater installed, it's time to install the benches. Cedar is a popular choice for sauna benches due to its natural resistance to moisture and decay.
Step 11: Install the Door
Finally, it's time to install the door. The door should be made of a material that can withstand high temperatures and moisture, such as cedar or tempered glass.
In conclusion, building a sauna at home can be a great way to relax and unwind while adding value to your home. By following these steps, you can create a sauna that meets your needs and provides years of enjoyment. Remember to always follow safety guidelines when using your sauna and consult with a professional if you have any questions or concerns.
Comments
0 Comments
Leave a Comment